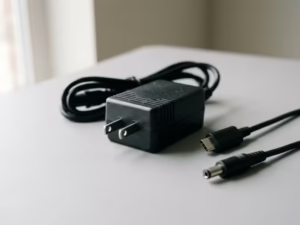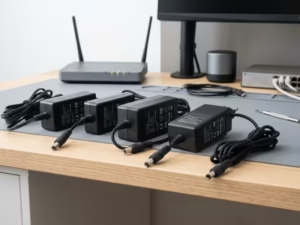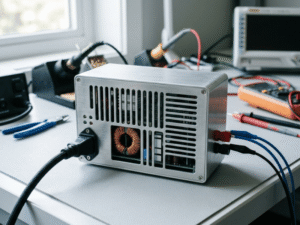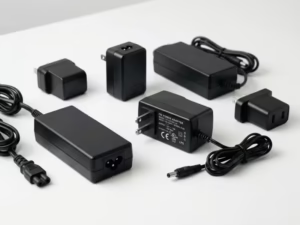
A plug that fits is not the same as a plug that works.
I have seen this catch people out again and again. The connector slides right in, the light blinks on, and everything looks fine. Then the trouble starts.
The wrong adapter rarely fails in an obvious way. Instead, your device reboots at random. It runs hot. You hear a faint whine. Power drops out for no clear reason.
These symptoms all point back to a mismatch you cannot see just by plugging in.
The good news is that checking compatibility is not guesswork. There is a right order to follow, and I will walk you through it step by step.
By the end, you will know exactly what to match and what to ignore before you buy your next adapter.
Why the Wrong Adapter Causes Real Problems
I have opened up plenty of dead devices, and the story is often the same: the wrong adapter. Here are the four failures I see most.
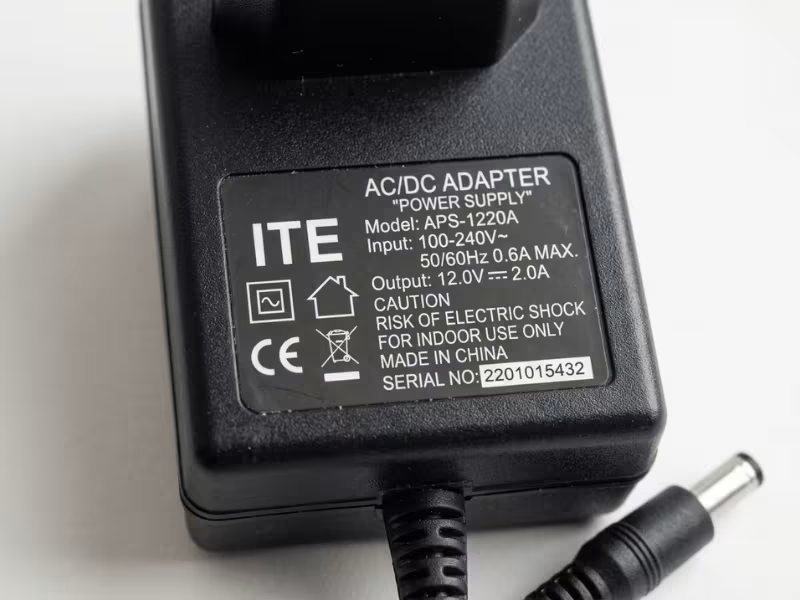
What “ITE” Means on a Power Supply
You will spot the label “ITE” on a lot of adapters, and it tells you more than it looks.
ITE stands for information technology equipment. In plain terms, that means the everyday electronics that run your home office or network.
The devices it powers
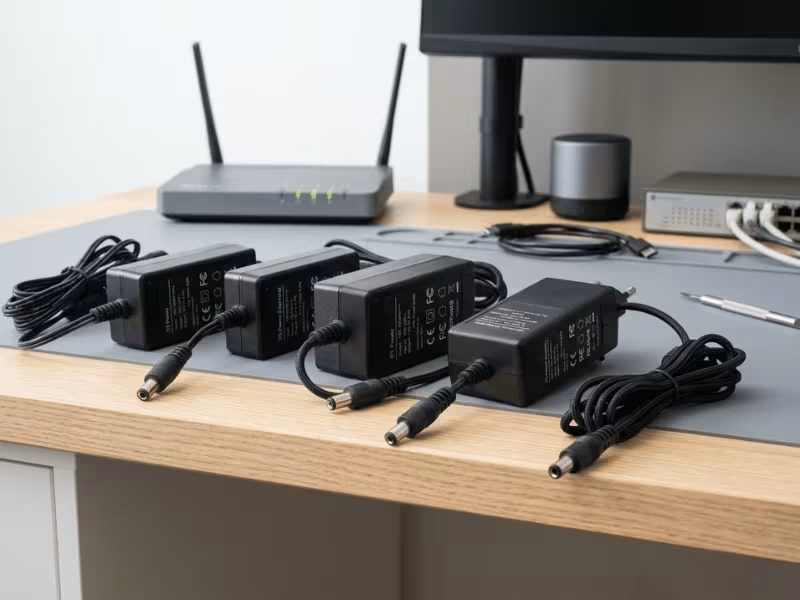
I am talking about gear like:
- Routers and modems
- Network switches and hubs
- Monitors
- Speakers and small audio boxes
- Assorted small office electronics
An ITE power supply is simply an external power source built to feed these devices safely and steadily.
The standard behind it
These adapters get designed and tested against a safety standard called IEC 62368-1, which replaced the older IEC 60950-1. When you see that marking, it means the adapter passed the checks made for this class of equipment.
That is also why an ITE adapter is not the same as one built for medical or industrial gear. Those follow different rules for different risks. For your router or monitor, an ITE-rated supply is the right family to shop within.
The 4 Specs That Decide Compatibility
If you get only four things right, get these four right.
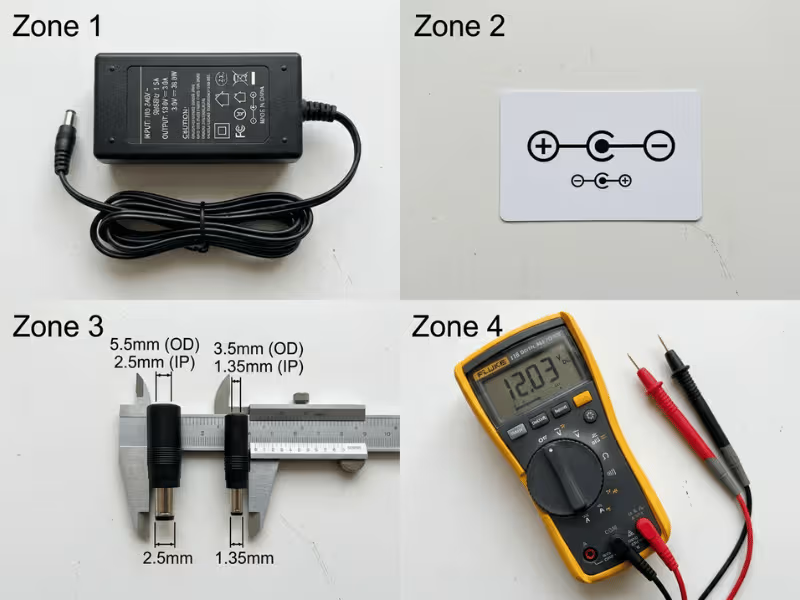
Over the years I have learned that compatibility comes down to voltage, current, polarity, and connector size. Nail all four, and your adapter runs cool and steady. Miss even one, and you get anything from a dead device to a flickering, restarting mess.
Here is the order I check them in, and why each one matters.
Voltage Must Match Exactly
Voltage is the one spec with almost no room to bend. I check it first, every time.
If your device wants 12V, give it 12V. Not “around 12.” Not 9V because that is what you have in the drawer. And definitely not 19V from a laptop brick.
Too low, and the device will not power up or will act strangely. Too high, and you risk cooking the internals on the spot.
You may see a ±5% tolerance quoted on datasheets. That range exists for engineering margin, not as your buffer to gamble with. I never treat it as permission to use a “close” adapter.
One more warning about those multi-voltage switchable adapters. They flip between 3V, 6V, 9V, 12V with a little dial. The problem is simple: one bump of that switch, or a wrong setting out of the box, sends the wrong voltage straight into your gear. I have seen devices die because someone trusted a slider. If you use one, confirm the setting before you plug in.
Current Must Meet or Exceed the Device Need
Here is where people get nervous for no reason. They think a higher current rating will force too much power into the device and burn it out.
It will not.
The current rating on an adapter is a ceiling, not a push. Your device pulls only what it needs. So a 12V 3A adapter feeding a device that wants 12V 2A is fine. The extra headroom just sits in reserve.
The real danger runs the other way. An adapter rated below what your device demands cannot keep up.
This is why a device often boots fine, then fails the moment it works hard. At idle, the draw is low, so a weak adapter looks okay. Add load, and the voltage sags. Then you get resets, slow performance, dropouts, and heat.
My rule is simple: match or exceed the current the device asks for. When in doubt, size up.
Polarity Has to Be Correct
Polarity tells the device which way power flows through the plug. You will see it written as center-positive or center-negative, usually shown with a small diagram near the output rating.
This is the classic hidden trap. Two adapters can share the same voltage, the same current, and the exact same plug. Yet one has the positive on the inside pin and the other has it on the outside.
Plug in the reversed one, and you can destroy the device instantly.
The plug looks right. The specs read right. Nothing warns you. That is what makes this mistake so common.
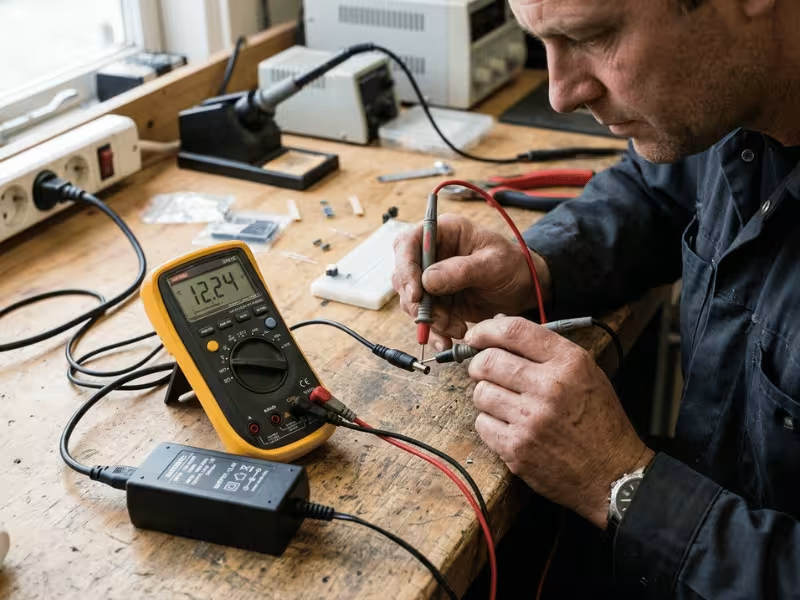
When I am not certain, I do not guess. I put a multimeter on the plug, read the polarity myself, and match it to the symbol on the device. Thirty seconds with a meter beats a ruined device.
Connector Size Still Matters
You would be surprised how many “compatible” adapters fail on this last step.
Barrel plugs come in sizes that look nearly identical. A 5.5 x 2.1 mm plug and a 5.5 x 2.5 mm plug differ by four-tenths of a millimeter on the inner pin. The wrong one still slides into the jack.
But sliding in is not the same as making solid contact.
A loose fit means the pins touch, then don’t, then touch again. The result is intermittent power: flickering, random restarts, warmth at the connector, even a faint spark you can feel when you wiggle the cable.
So check both numbers, not just the outer diameter. And once it is in, make sure it seats firmly and holds.
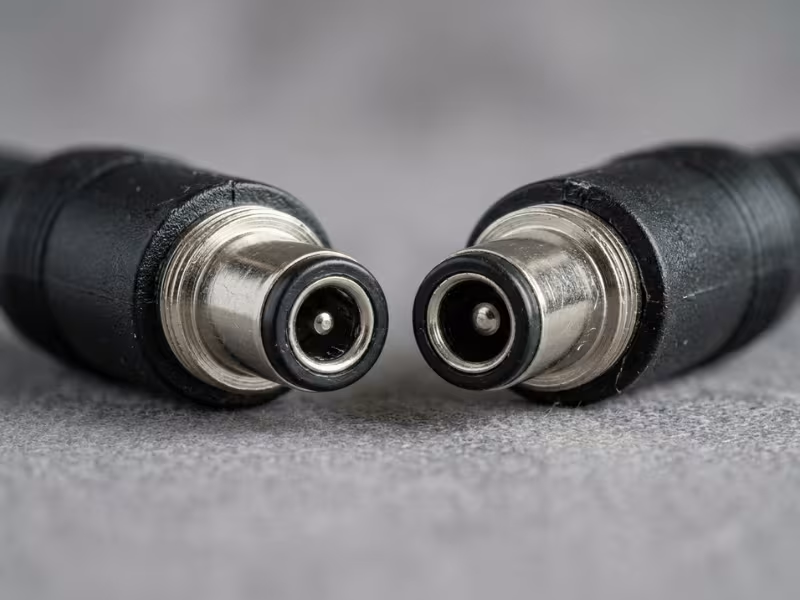
Check Item | What to Match | What Happens If Wrong | Can You Compromise? |
|---|---|---|---|
Voltage | Exact voltage the device requires (e.g., 12V) | No power if low; instant damage if high | No. Match it exactly. |
Current | Equal to or greater than the device rating | Sag, resets, heat, and dropouts under load | Higher is fine. Never go lower. |
Polarity | Center-positive or center-negative, per the device | Instant damage the moment you plug in | No. Verify with a multimeter. |
Connector Size | Both diameters (e.g., 5.5 x 2.1 mm) | Loose fit, flickering, restarts, sparking | No. It must seat snugly. |
Why One 12V Adapter Works and Another Doesn’t
Here is a puzzle I get asked about constantly. Two adapters both say “12V.” One runs the device perfectly. The other causes glitches. Same number, different result. So what gives?
The voltage rating tells you the target. It says nothing about how well the adapter holds that target.
This is why a “compatible-looking” replacement so often disappoints. It matches the number on paper but skimps on everything the number cannot show.
The original was tuned for your device. The bargain substitute was built to hit a price. Same 12V, very different engineering underneath.
Read the Adapter Label Before You Buy
Before you spend a cent, flip the adapter over and read the label. Everything you need is printed right there, usually in one small block. Here is how I read it, top to bottom.
Read all six, and you will spot a bad match before it reaches your device.
Label Item | What It Tells You | Why It Matters |
|---|---|---|
Output voltage | The voltage the adapter delivers | Must match your device exactly |
Current rating | The maximum current available | Meet or exceed the device need |
Polarity symbol | Which pin is positive | Wrong polarity can cause damage |
DC / AC output | The type of current supplied | Most ITE gear needs DC |
Input range | The wall voltage it accepts | Confirms use in your region |
Certification marks | Which safety tests it passed | Signals safe, verified build |
Common Compatibility Traps Buyers Miss
Some mistakes hide in plain sight. The specs look close, the plug fits, and yet the device sputters. Here are the traps I watch for most.
Two quick side notes: a big inrush current at startup can trip a weak adapter, and a long extension cable adds voltage drop. Keep both in mind, but they rarely rank above the traps above.
Mistake | What Users Assume | What Actually Happens |
|---|---|---|
AC output used on a DC device | “Volts match, so it’s fine” | Instant damage from the wrong current type |
USB-C PD for a barrel jack | “Enough watts means it works” | No handshake, so no usable power |
Same voltage, wrong polarity | “Identical plug, identical adapter” | Reversed flow kills the device |
Plug fits, size is off | “It went in, so it connects” | Loose contact, flickering, and heat |
Guessing a wider voltage range | “This device can handle more” | Overvoltage stress or failure |
Old unregulated adapter | “Same rating, so it’s safe” | Voltage swings that glitch or damage gear |
How to Replace a Lost or Unlabeled Adapter
Losing the original adapter feels like a dead end. It is not. You just need to hunt down the specs the right way, in the right order. Here is how I do it.
Work through these steps in order, and you will land on the correct replacement without gambling on your device. Confirm the numbers first, then buy.
A Quick Guide for Common Devices
Different ITE devices ask for different things from their power supply. I have replaced adapters for all of these, so here is the quick reference I keep in my head. Match the row to your gear, then confirm the numbers before you buy.
Device | Typical Power Type | What Matters Most | Common Mistake | Best Replacement Advice |
|---|---|---|---|---|
Router / modem | 12V DC, 1–2A (some 9V) | Steady voltage under load; correct polarity | Grabbing a 9V adapter for a 12V unit | Match the exact voltage and polarity on the base label; size current up, never down |
Network switch | 12V or 48V DC, higher amps | Enough current for all active ports | Underrating current, then blaming “bad ports” | Meet or exceed the amp rating; PoE switches need the full wattage, so check the spec page |
Monitor | 12V or 19V DC, 3–5A | High current headroom; clean regulation | Reusing a laptop brick with the wrong voltage | Read the input rating on the back panel; a monitor draws hard, so honor the amps |
External HDD enclosure | 12V DC (often dual 12V/5V) | Stable voltage; adequate startup current | Using a weak adapter that sags on spin-up | Confirm both rails if listed; give extra current headroom so drives spin up cleanly |
Speaker / audio device | 12–24V DC, varies widely | Low ripple and noise for clean sound | Ignoring polarity or accepting a noisy brick | Pick a well-regulated, low-noise supply; verify polarity to avoid hum or damage |
Smart home hub | 5V DC (USB or barrel), low amps | Correct connector type; steady 5V | Swapping a barrel hub for a random USB charger | Match the connector and voltage exactly; a clean 5V supply keeps the hub online |
Find your device, copy its real numbers off the label, and shop to those specs rather than to a “fits most” promise.
How to Test a New Adapter Safely
A new adapter deserves a quick checkup before you trust it with your device. I run the same short routine every time, and it takes only a few minutes.
Start with the label. Read the voltage, current, polarity, and DC output, and confirm they match what your device asks for. If the printed numbers are wrong, stop right there.
Next, reach for a multimeter. Measure the output voltage across the plug with nothing connected. A 12V adapter should read close to 12V, not 10.5V or 14V.
Then confirm polarity with the same meter. Check which pin reads positive and match it to the symbol on your device. Never skip this step, even when the plug looks identical to the old one.
Testing at no load is only your first check. A reading at rest tells you the adapter powers up, but it says nothing about how it behaves under strain.
So plug in the real device and let it work. Run it hard, then rest your hand near the adapter and connector. A little warmth is normal. Hot to the touch is not. Watch for resets, flickering, or dropouts too.
If you hear a whine, feel excessive heat, or see the device act up, return it. A healthy adapter runs cool, quiet, and steady.
Trust what your meter and your senses tell you, not the promise on the box.
Common Mistakes to Avoid
I have seen every one of these cost someone a good device. Skip them all.
Get these five right, and you have dodged the failures I see most.
FAQs
The Bottom Line
Choosing the right adapter comes down to four checks, in this order.
First, match the voltage exactly. Second, meet or exceed the current your device needs. Third, get the polarity right. Fourth, confirm the connector size seats snugly.
Do not trust how an adapter looks. Two plugs can look identical yet differ in ways that ruin your gear. The label tells the truth, so read it every time.
Get all four right, and you feel the difference. A properly matched adapter runs cooler. It holds steady under load. And it lasts far longer than a “close enough” substitute ever will.
Match the numbers, trust the label, and your device rewards you with years of quiet, reliable power.